|
| click image to get a bigger one |
note: no affiliation with Emagic Soft-und Hardware GmbH or Apple |
 |
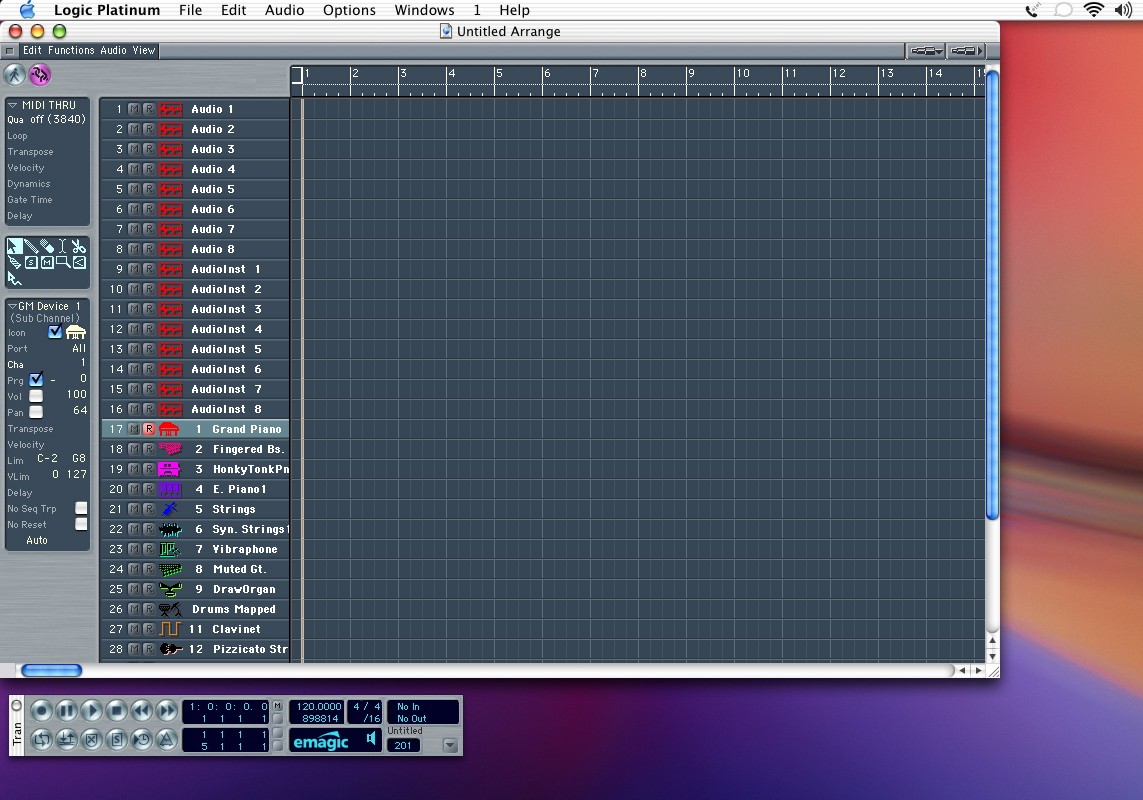
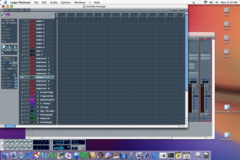
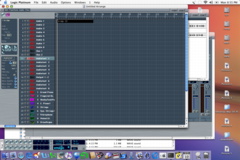
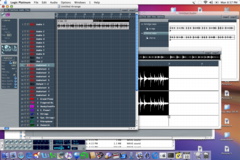
When you open Logic your autoload song is created. Odds are it looks like this. This is the arrange window, and is roughly equivalent to the arrange windows in PT and DP. The difference is that what you see is not all that you have. In the environment more audio and instrument objects exist. The arrange window has "track" objects, that point to objects that exist in the environment. You really don't need to mess around much in the environment though if you don't want to. However if you want to be able to see bus and output channels in the arrange window (and be able to move them around here and in the mixer), you need to make a quick trip to the environment. |
 |
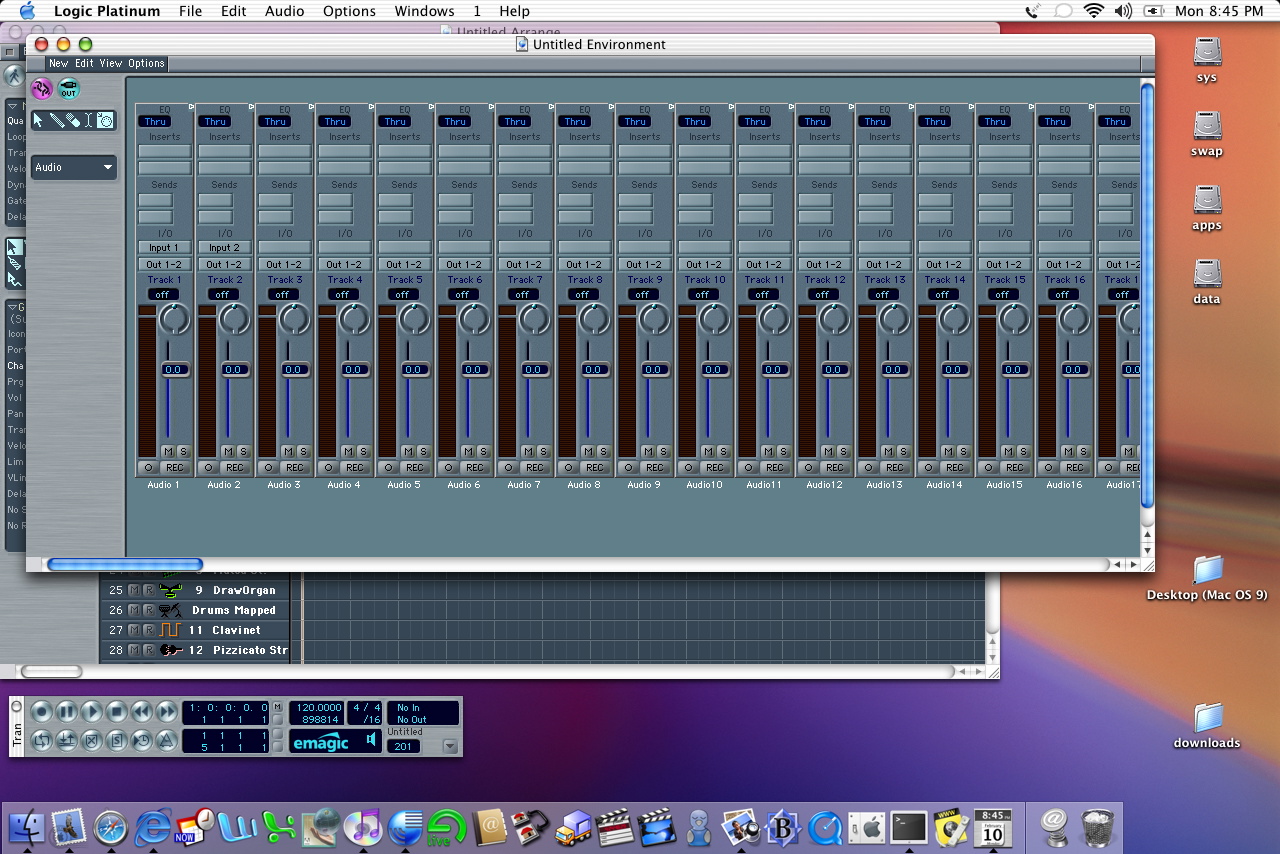
So, open up the environment (cmd-8) and get to the audio layer (hold down the pull down menu on the left side of the screen). If you scroll left and right you can see all of your audio objects, instruments, buses, outputs, and master volume. You could use this to mix, but be careful not to fiddle too much (especially highlight and delete, or change the Cha parameter on the left). If you delete something, that object is gone. You can make another one, but let's keep it simple. You highlight by a single click on the name of the object found at the bottom of the channel strip. |
 |
Here I've scrolled over and highlighted Bus 1. You can check out the parameters for this object on the left side of the window. Click on the check box labeled "icon". The small icon will change from being crossed out to having color. This object can now be found on the arrange page, but you'll have to create a track object to show it. First, lets change the icon property on a few more objects so we can put them on the arrange page. Repeat the above process for as many buses as you'll think you need. You'll want to use buses for submixes and/or applying processor intensive effects like reverb. |
 |
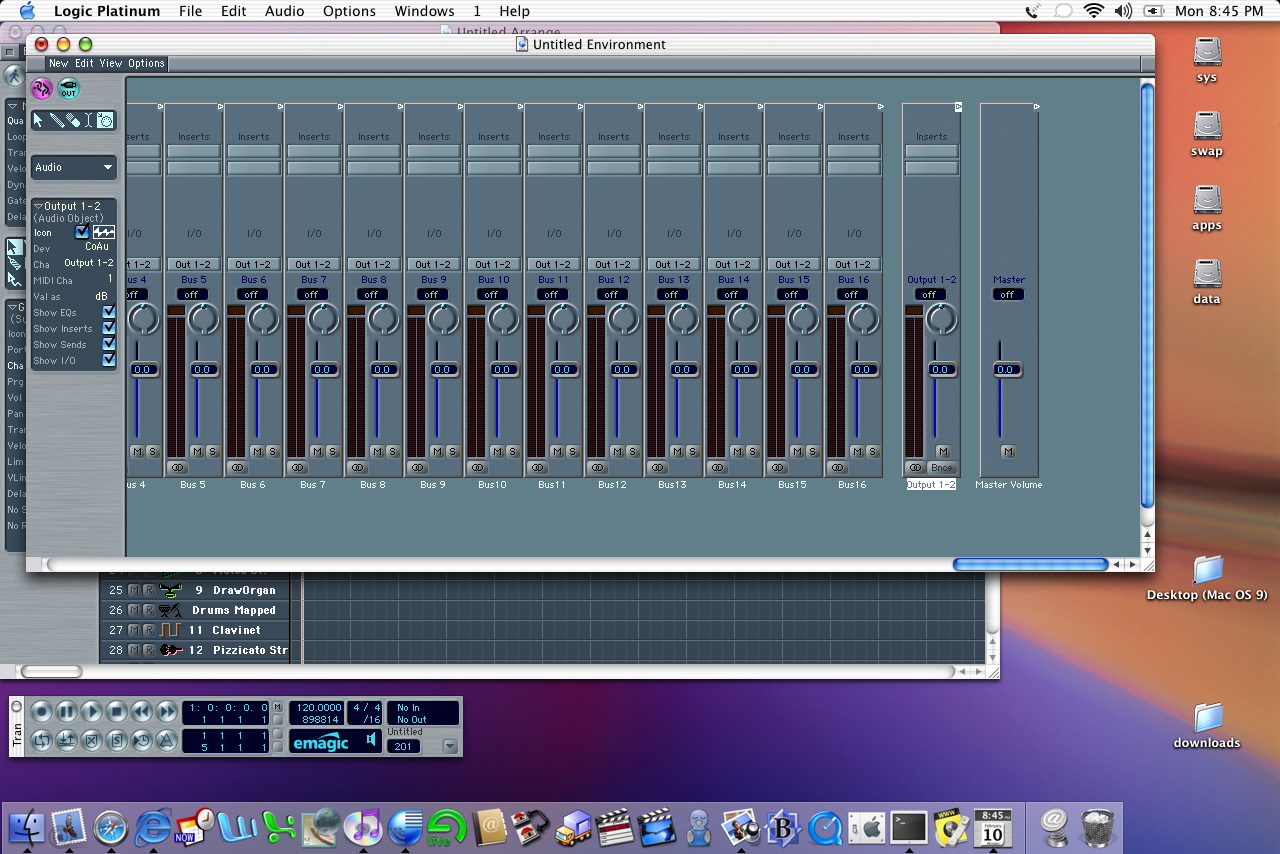
I like to have main outputs available to me on my mixer (like creating a master track in PT or DP). Highlight the Output object (how many you see in the environment will depend on your audio hardware), and make the icon visible. I like having the output object for applying effects to the final mix (limiter, etc). Add the master volume object if you want that available too, but you'll notice that there are no inserts. All "master" effects will go on the output object. |
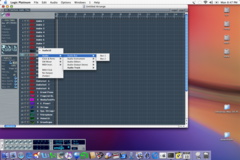 |
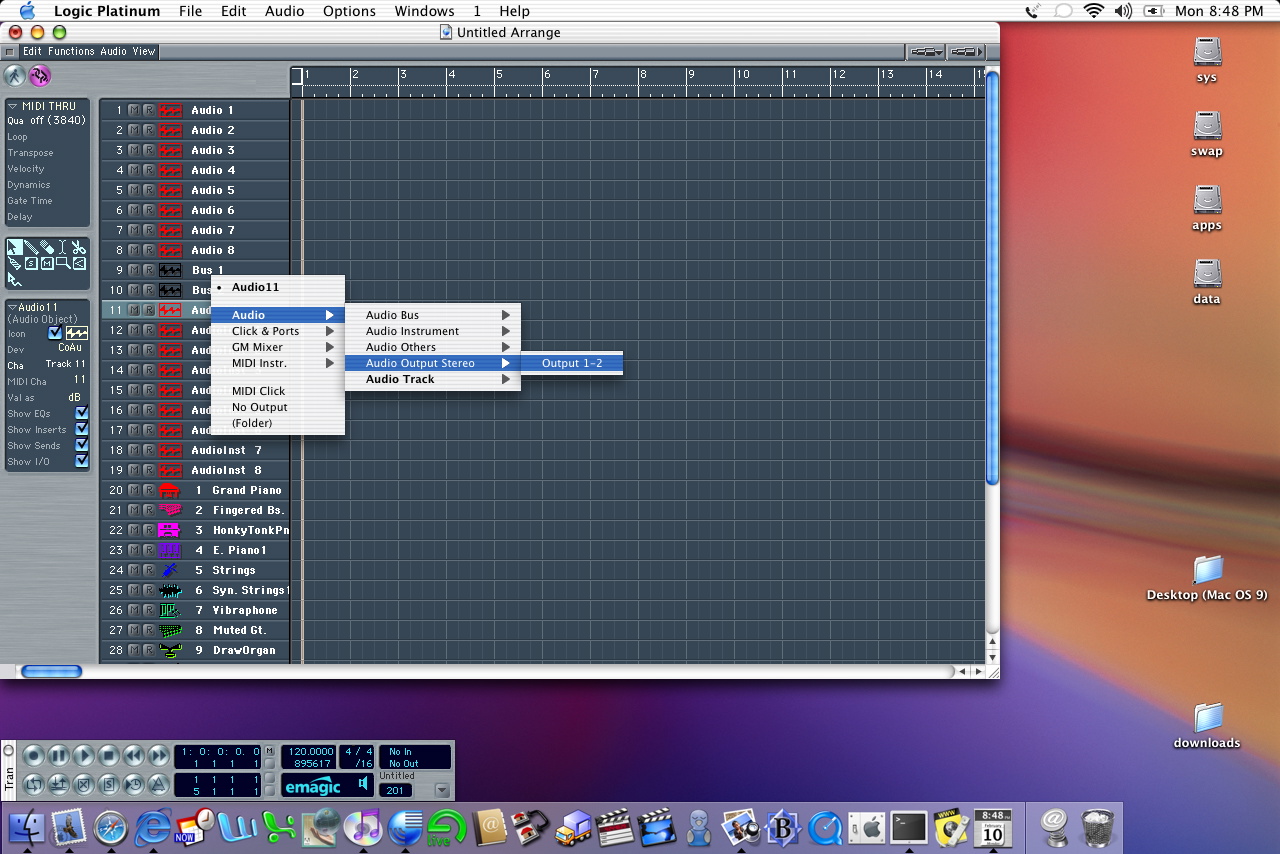
OK, now go back to the arrange window. We have 8 audio tracks, but you saw from the environment that there were a lot more audio objects available. We can easily create new audio tracks by doing a single click on audio 8 to highlight that track, then doing ctrl-shft-return. This creates a new audio object with the next available audio object. Don't worry about the lingo though...think of it as creating a new track like in DP or PT. If you want to use this new track for recording audio you don't need to do anything. If you want to use it as a bus or master, you need to click and hold on the name. Menus pop up and you can navigate to what you want to assign the track to. In this case I'm making a track object assigned to the bus 1 object. |
 |
Here I've done the same thing...I created new audio tracks (highlight an audio track then ctrl-shft-return), and click-hold on the name of the created track. |
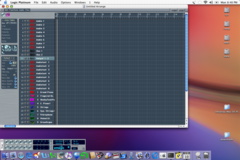 |
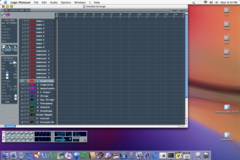
So now we've got 8 audio tracks for recording audio, 8 audio instruments for using the virtual instruments like the EXS24, ES2, etc, 2 audio buses and the master output. I left the midi tracks from the auto load there, but you can easily highlight and delete them if you want. |
 |
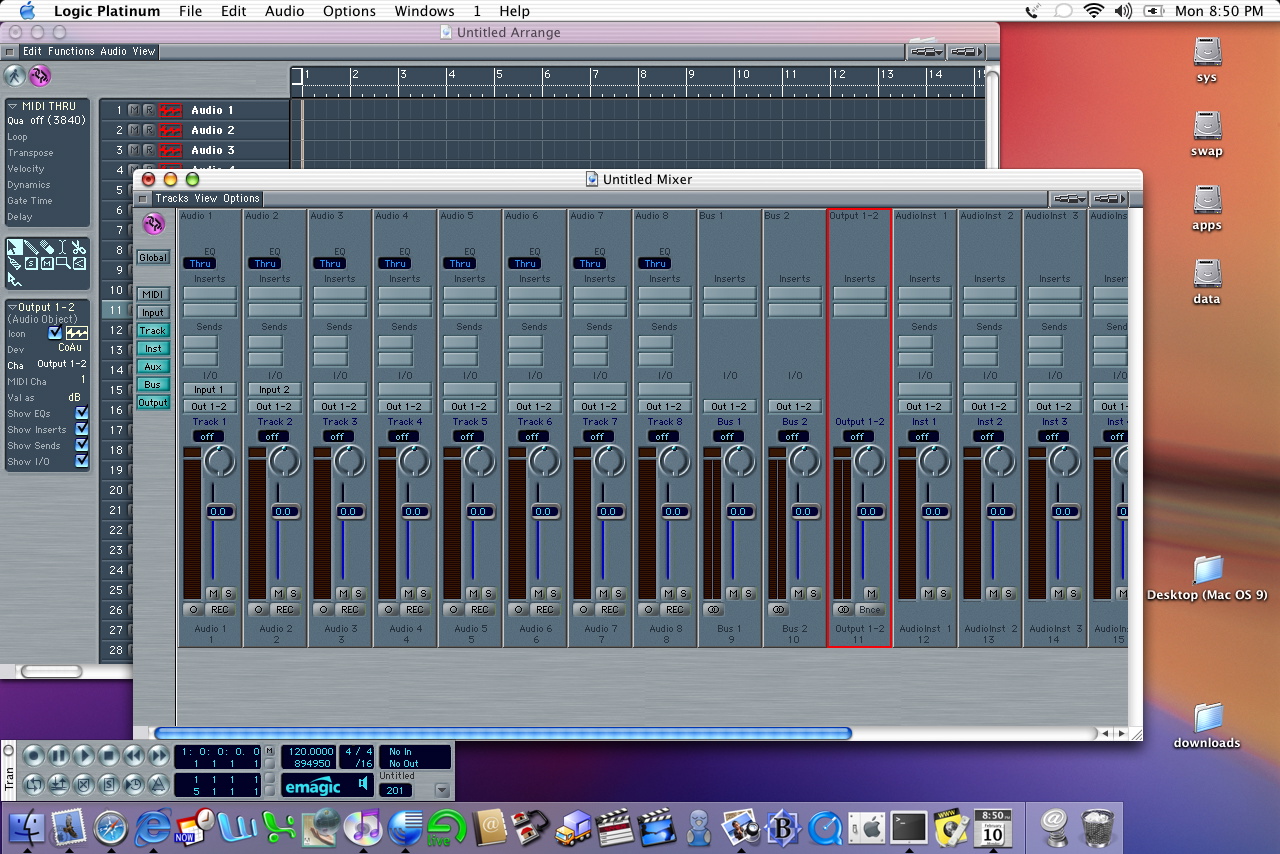
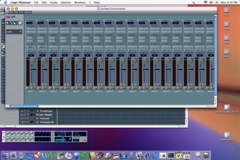
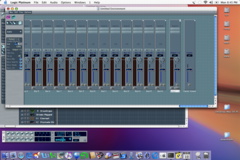
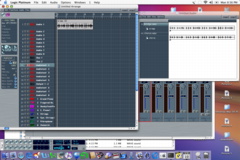
Now lets take a look at the track mixer (cmd-M). This is different from the mixer in the environment...this is like the mixer in PT. You'll notice that this mixer now reflects the tracks in our arrange window, and you can see the 2 buses and output. The rest of the mixer behaves just like a typical DAW. Effects inserts at the top (click and hold), and don't worry about only having 2. Once you add 2 effects a 3rd slot magically appears. Very cool. |
 |
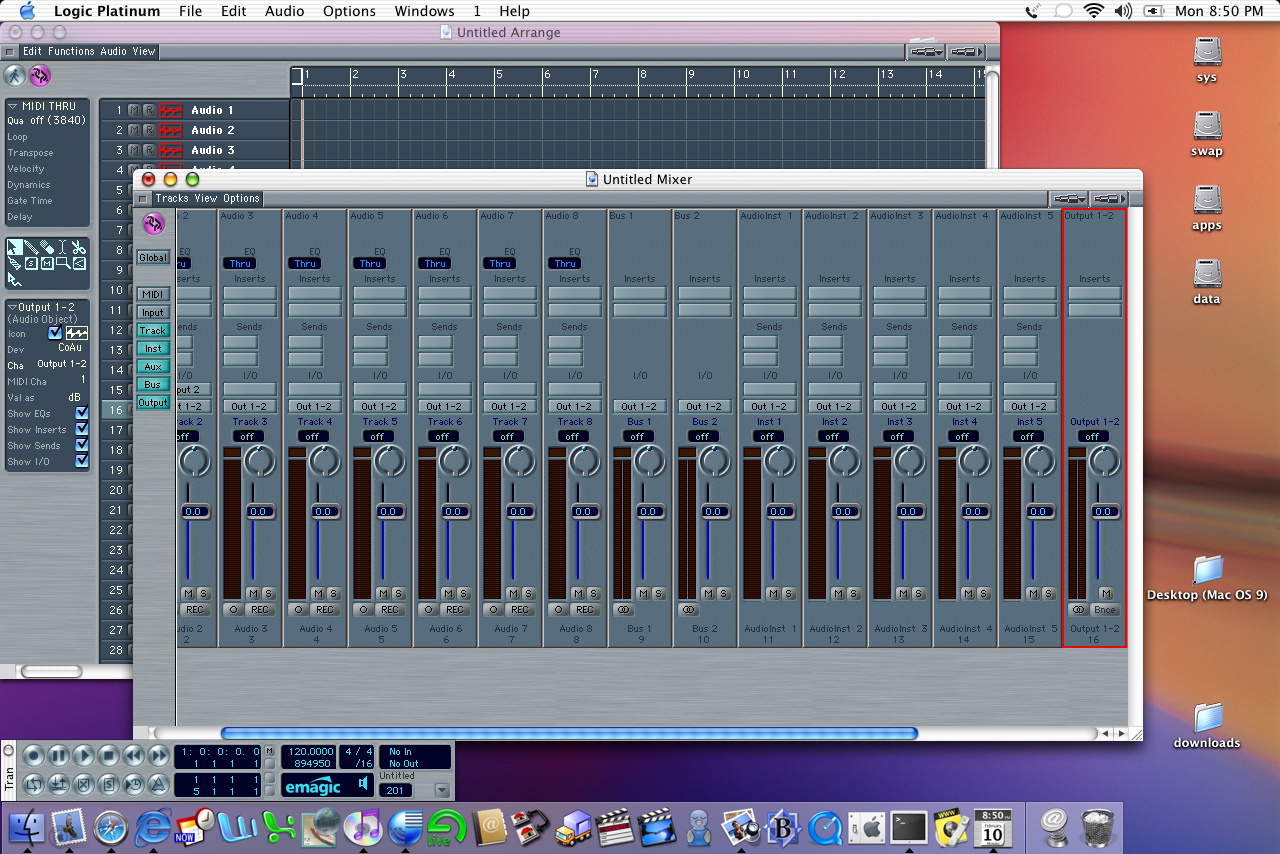
You can easily arrange the tracks by moving the mouse to the left side of the track and click-drag. Here I've moved the master below the audio instrument tracks |
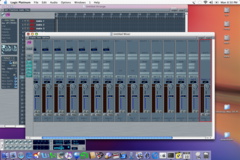 |
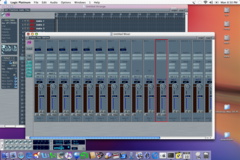
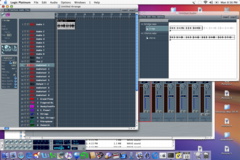
Clicking back to the mixer you see that the change in the arrange window has been carried over to the mixer. You can also click on the blue buttons on the left side to selectively look at only certain kinds of tracks. To select more than one button, click and hold the shift key. Also notice that right now all the tracks appear to be mono. In reality, they can contain either mono or stereo signals. If you drag a stereo file into the arrange window, the mixer will stay mono (indicated by the circle at the bottom of the mixer). Clicking on this will switch the track to stereo. No need to create a different type of track like in PT. |
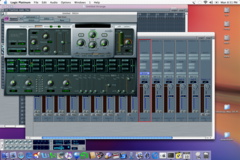 |
Getting a virtual instrument is very easy, and one of the things about Logic that made me go "wow" when I started using it. Go to one of the audio instrument tracks, and click-hold on the input button (there shouldn't be anything in there right now). You'll get choices for mono, stereo, or multi. Here I have chosen Logic EXS24. Choose your instrument, hit record, and play your keyboard. Bueno! |
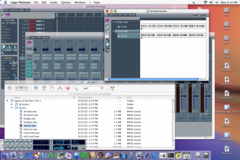 |
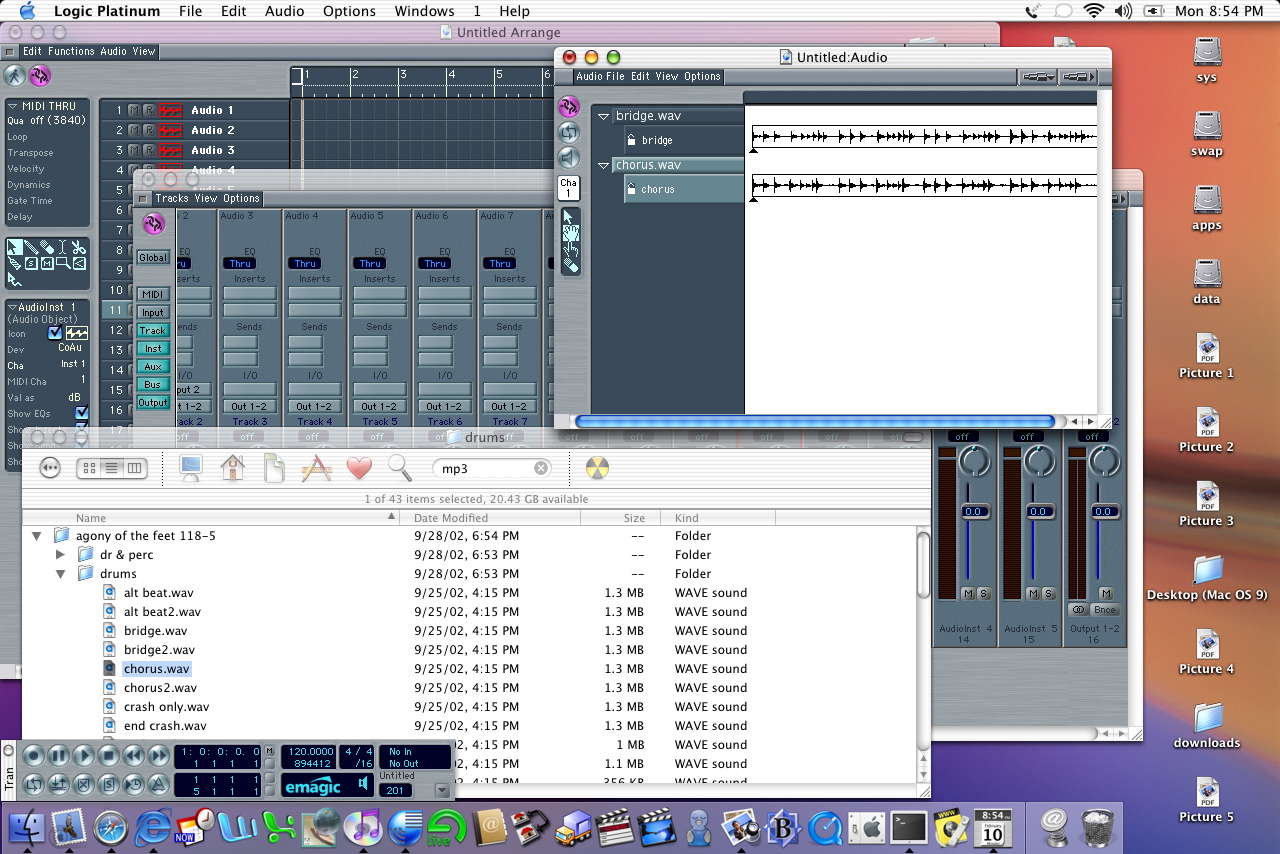
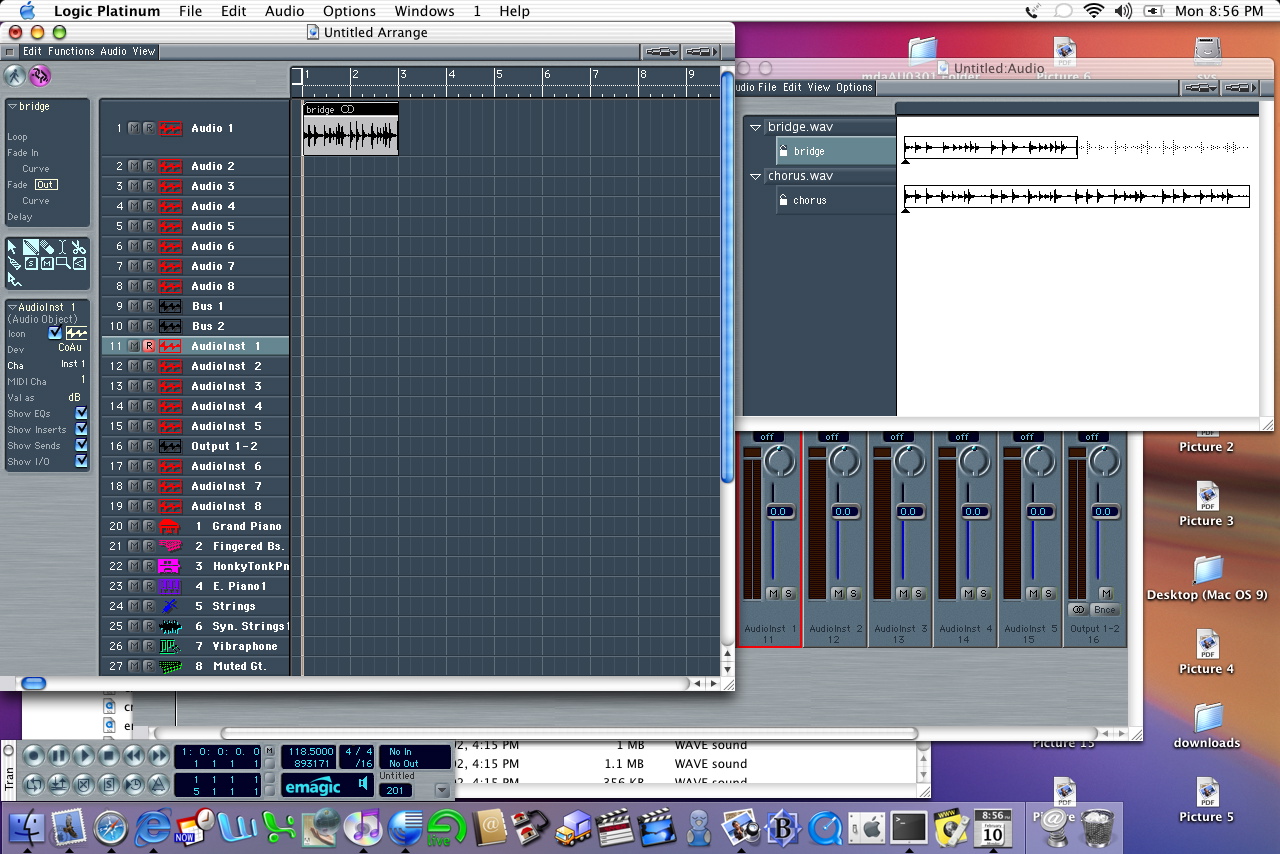
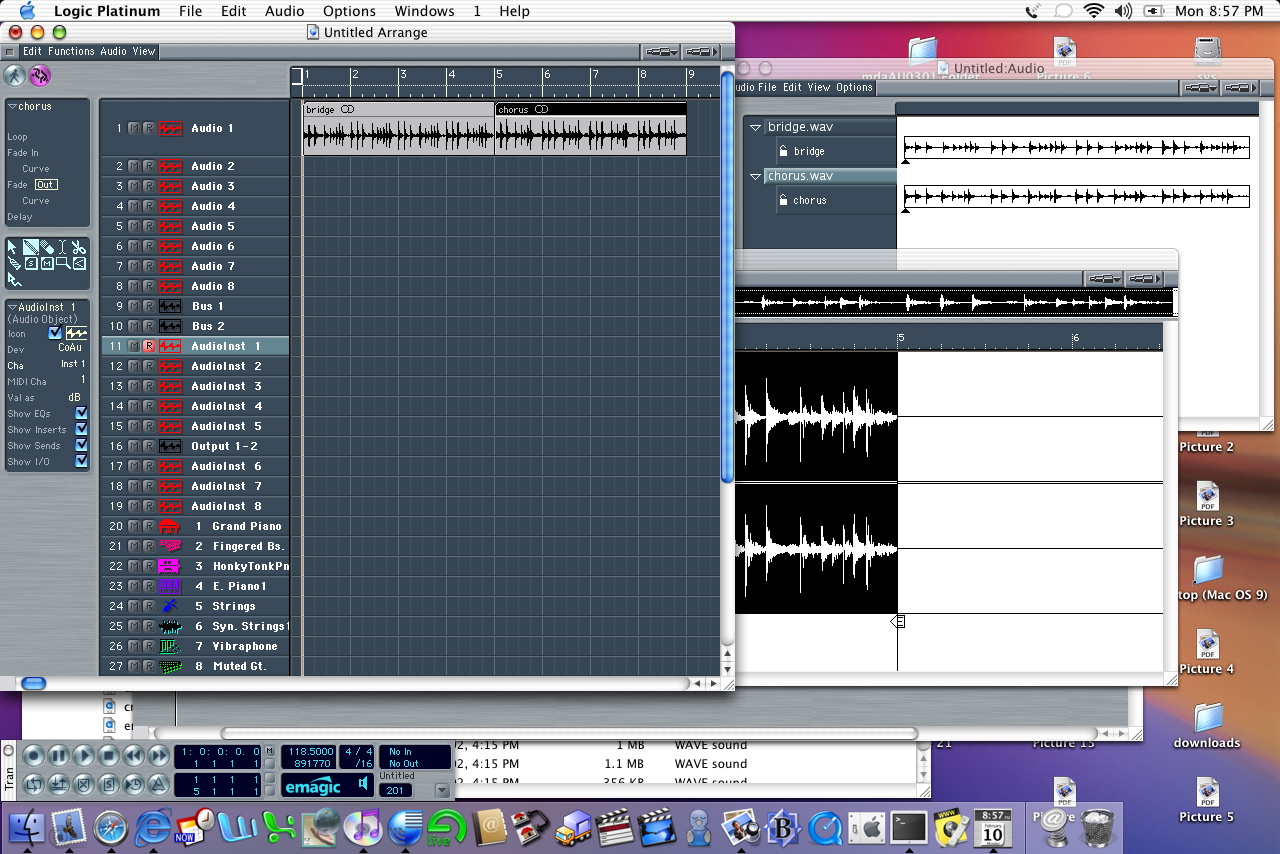
OK, now let's get some audio into the picture. Open up the audio window, and you can use drag and drop. Here I have some .wav files on my HD and I have dropped them into the audio window. This functions much like the DP soundbytes or the right side of the PT arrange window. Note that if you are pulling sounds from a CD, you will need to copy them to your HD first. Logic knows that it will likely have to write changes to the file, and a CD won't let you do that. So transfer to the HD first, then drag and drop into the audio window. |
 |
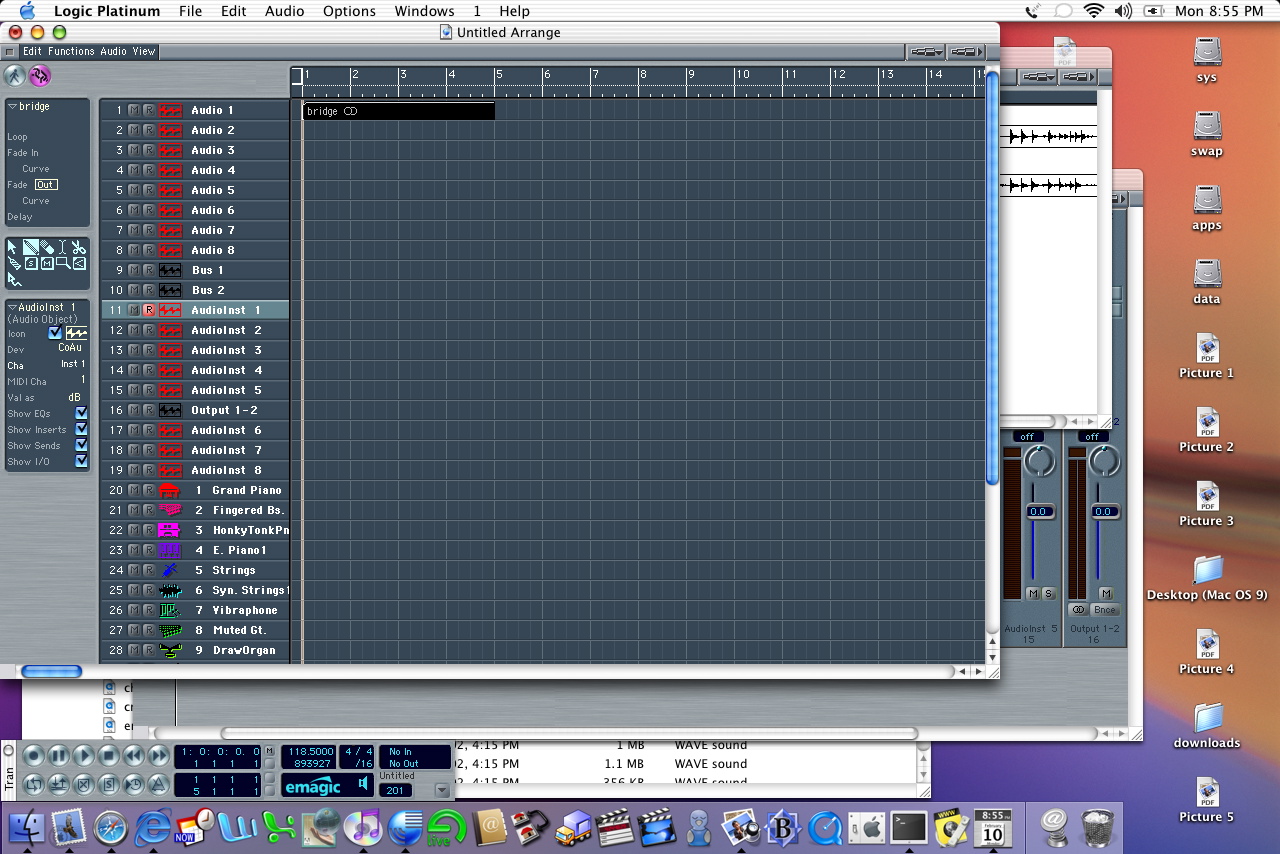
Getting the audio into the window is also easy...drag and drop from the audio window into the arrange window. You will notice that the audio region (yes, same language as DP uses) snaps to beats. If you want to put it somewhere else (like PT spot mode), you have a few options. Click-drag will snap to the beat. ctrl-click drag will snap to the division (1/16 by default). To get finer resolution, you need to click-hold, and while holding then press ctrl-shft. Now you can drag at the tick level. If you need to go to sample resolution, you need to use the sample edit window. |
 |
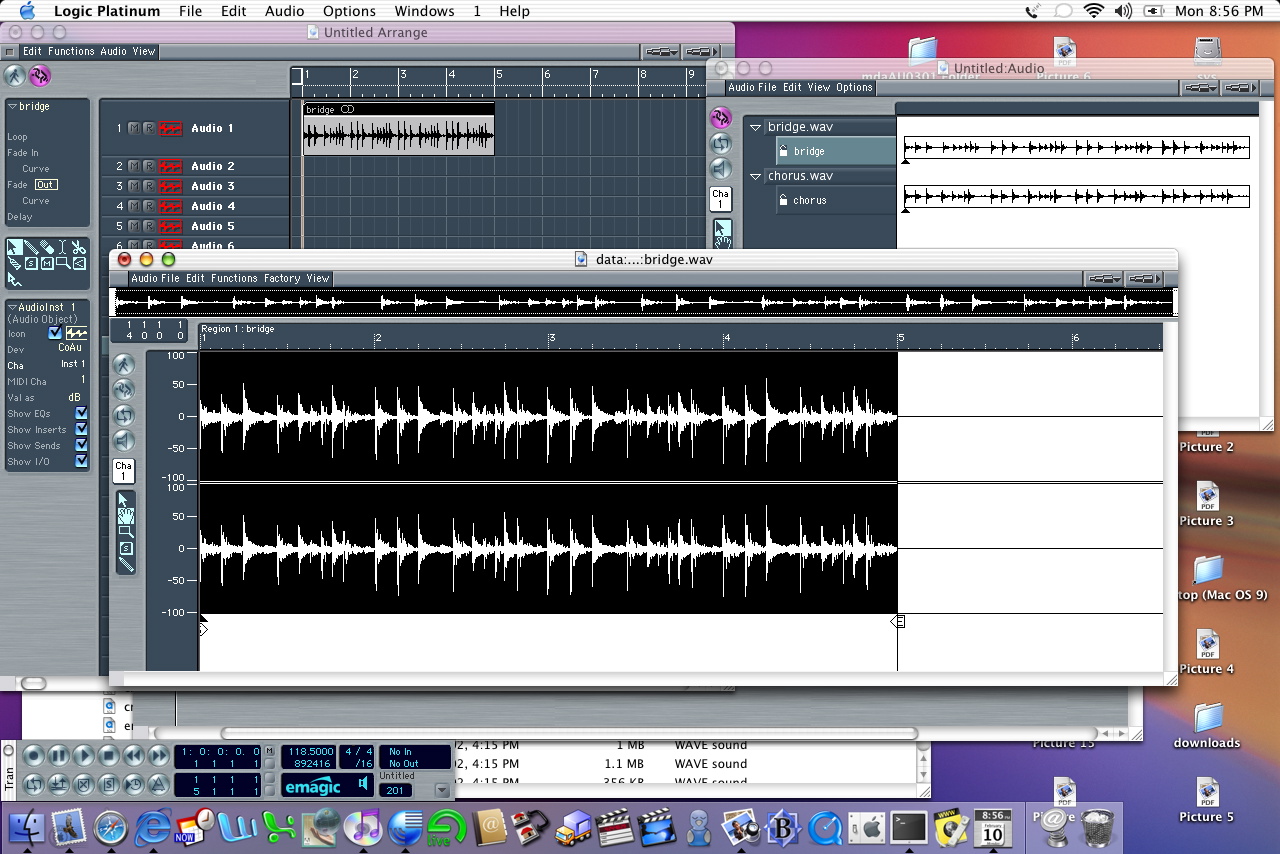
If you want to see the waveform, just put your mouse at the lower left corner of the track (near the track number). The cursor will turn into a hand with one finger, and pulling down expands the track height. You can also change the height of all tracks using the zoom bars at the upper right of the window. |
 |
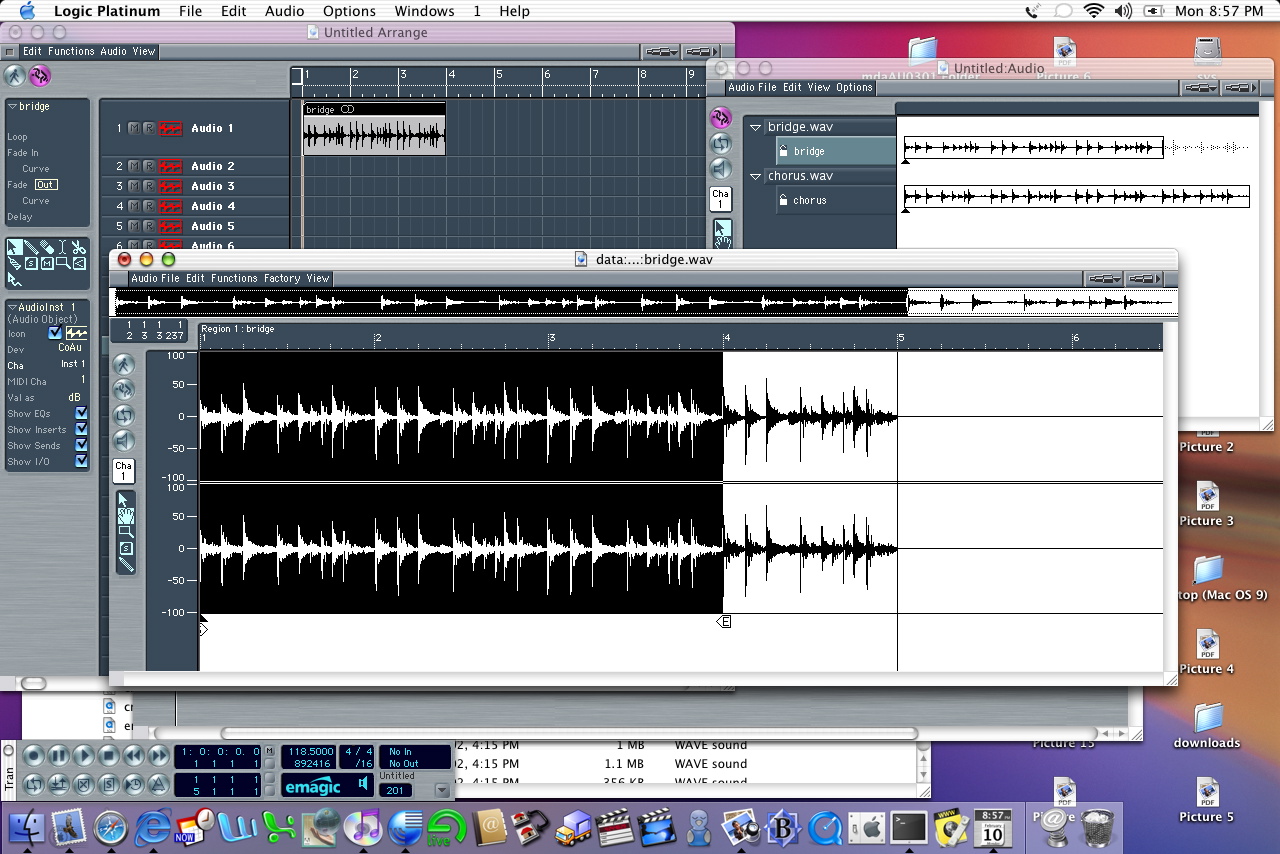
Changing the length of the region is easy. Put your mouse at either the lower left or lower right corner of the region and click-drag. The region will shorten as you drag, and will snap according to the above criteria. Notice that the region in the audio window also shortens accordingly. This means that all of the iterations in your arrange window will also change. If you only want to change one, you need to duplicate the region in the audio window. The quicker way to go is to opt-click-drag in the arrange window. This creates a new copy of the region, and you'll see a new one generated in the audio window. You can work on this copy and the original one won't be affected. You can also modify the length in both the arrange and audio windows and the change will be reflected in the other location. |
 |
If you want to do more detailed work on the region you just need to double click the audio file in the audio window. This opens the sample edit window. Here you can do all sorts of tricks, and is just like the edit window you get in DP when you double click on a soundbyte. This window has sample resolution, and you can change length by moving the "S" and "E" triangles at the bottom of the sample. The dark triangle is the anchor which determines where the region will snap to in the arrange window. This is useful for syncing a particular sound to a beat. |
 |
Here I've dragged the end marker to shorten the region. You can see that the change is reflected in the audio window and the arrange window. |
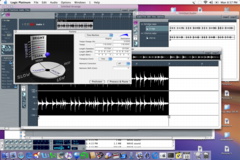 |
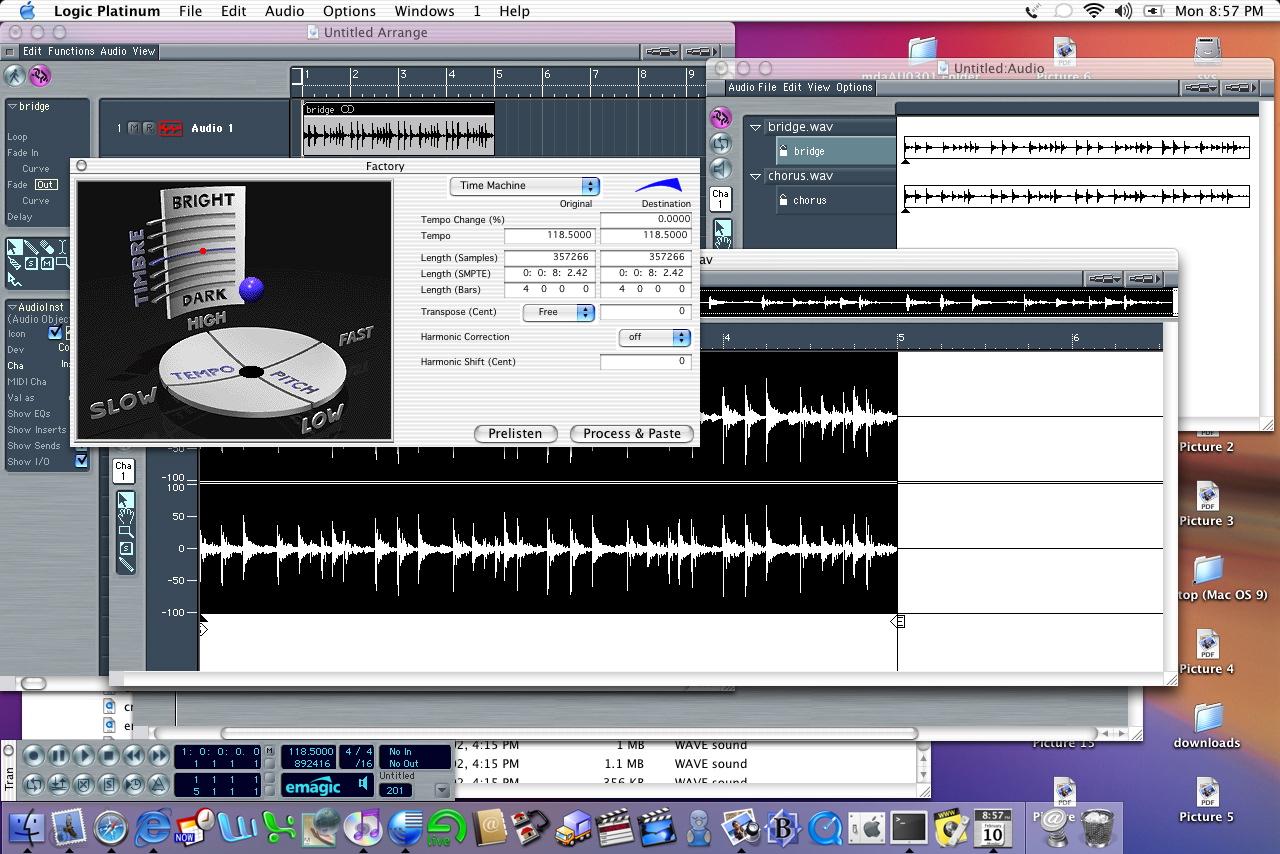
The sample edit window is also where you can do tricks like pitch and time, along with resampling the audio file. |
 |
Now you can add more audio files drag and drop them into arrange, move them around with snap to beat, division or tick, tweak in the sample edit, mix, record, and have fun. This just scratches the surface, but I hope it helped make the transition from PT/DP a bit easier. |
|
|